How To Test For HIV
Along with the traditional HIV testing methods (going to a clinic where a medical professional tests you) there are now other options available that enable you to #KnowYourStatus: self-testing and self-sampling. With these two options there is no need to see a medical professional and you can carry out the test at a time and place convenient to you.
How to test for HIV at Home
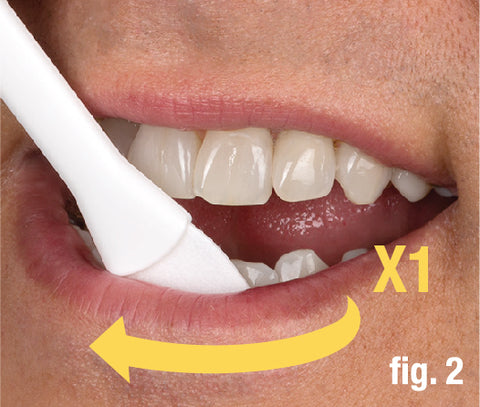
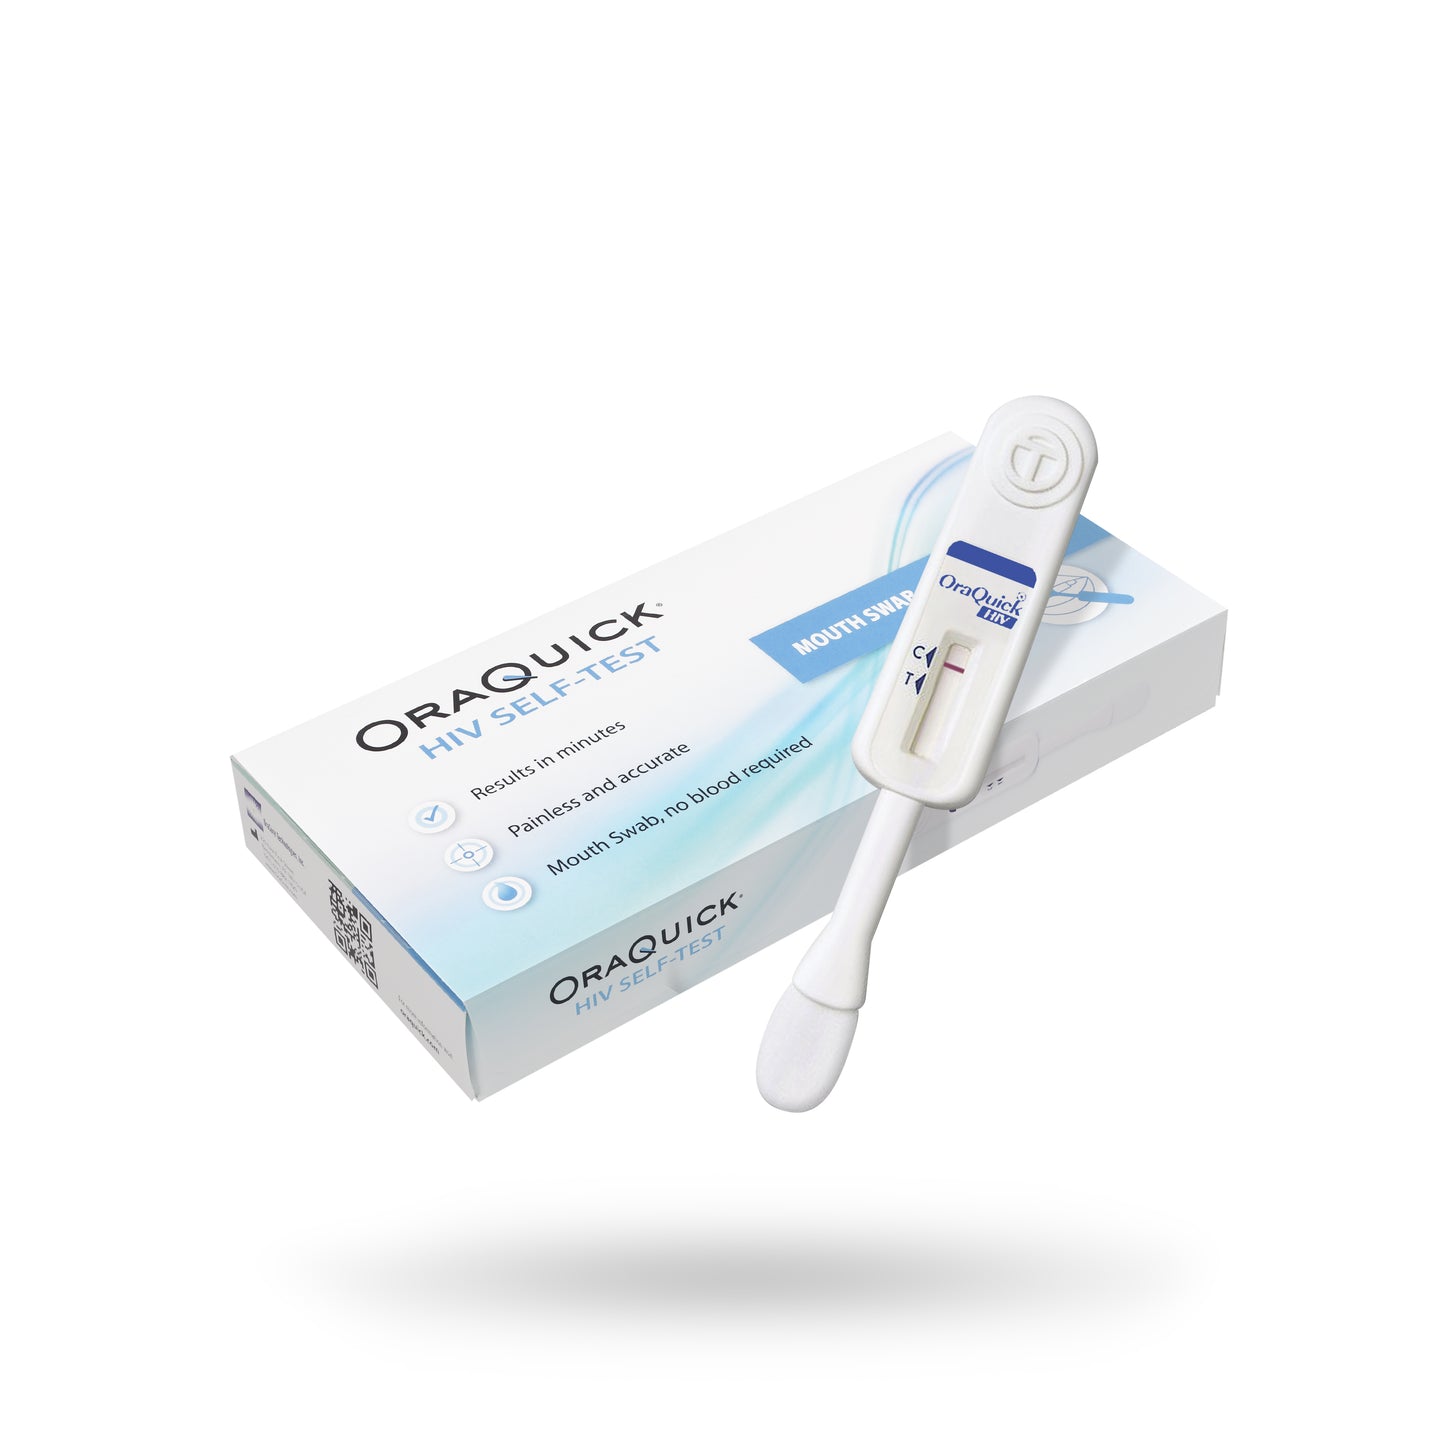
The OraQuick HIV Self Test is very easy to use and uses technology very similar to a pregnancy test, but it detects the specific antibodies to HIV (not actual HIV). The OraQuick HIV Self Test requires an easy and pain free swab of the gums (to obtain an oral fluid sample) which your test picks up automatically, so you don’t have to measure anything.
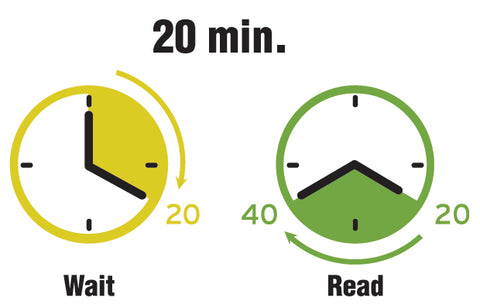
After carrying out 3 simple steps you have a short 20 minute wait until you know your own status, there and then. You are the first person to #KnowYourStatus.
How accurate is the OraQuick HIV Self Test?
Technology in oral fluid HIV self testing is now so advanced that oral fluid HIV self tests are now extremely accurate. So you no longer need a blood sample for an accurate HIV self test result.
The OraQuick HIV Self Test is proven to be extremely effective at diagnosing HIV. Extensive research and advancements in technology have evidenced this kit to be exceptionally usable and tremendously accurate when performed correctly.
The OraQuick HIV Self Test has proven accuracy of >99.7%.
It has a proven clinical sensitivity (if a person has HIV how often the test will be positive) of >99.9%, and a proven clinical specificity (if a person doesn’t have HIV how often will the test be negative) of >99.8%.
If you are at all unsure of your result you must go and see a healthcare professional to perform another test.
OraQuick HIV Self Test instructions
DO NOT eat or drink for at least 15 minutes before you start the test or use mouth cleaning products 30 minutes before you start the test.
Your test kit contains two pouches.


When you are ready open the pouch containing the tube.
1. Remove the tube from the pouch.
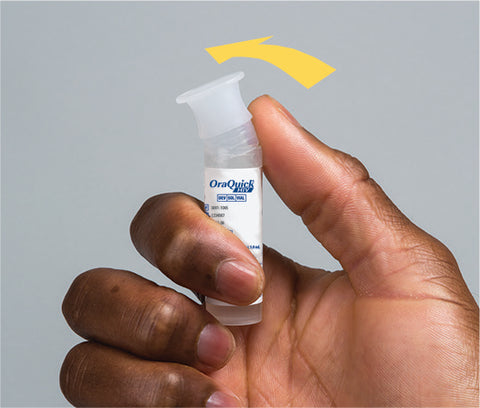
2. Remove the cap
DO NOT pour out the liquid. Do Not drink the liquid.
Slide the tube into the stand.